8BitDo SN30 Pro - Joystick Replace
8BitDo SN30 Pro Joystick Replace Guide
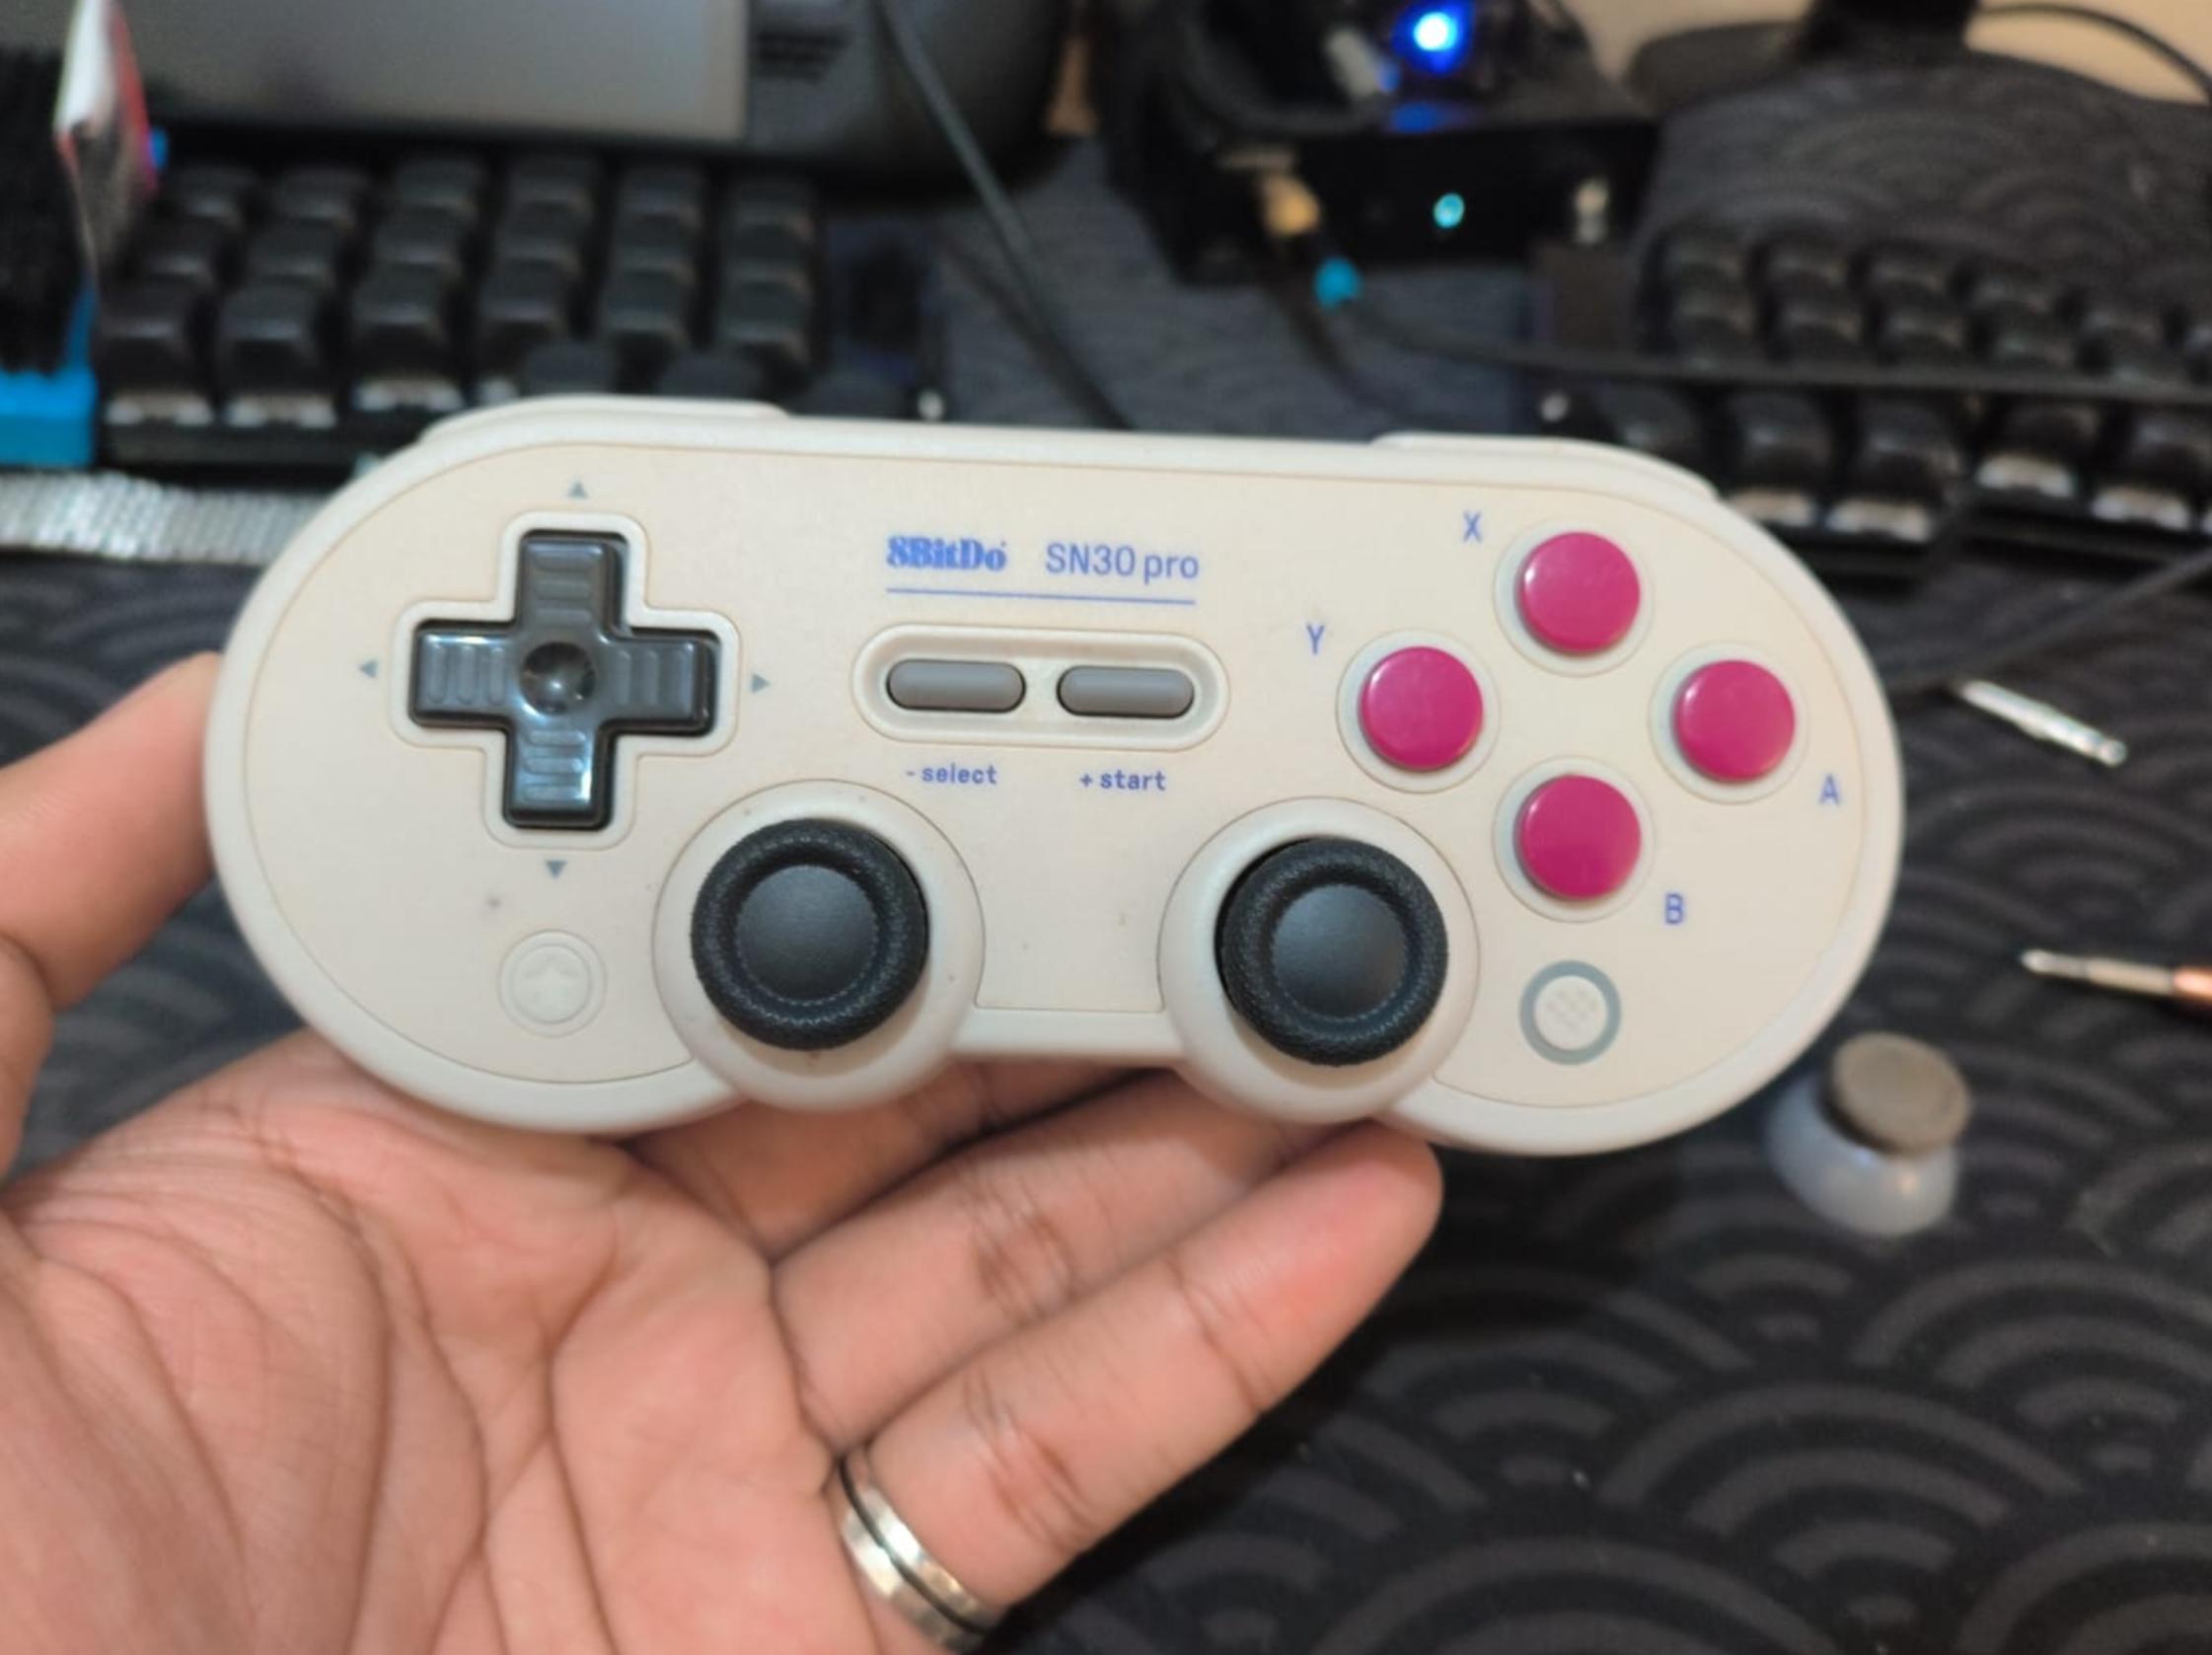
This is not an OFFICIAL Guide, this guide is made by a dude annoyed by a crusty joystick.
Check out 8BitDo SN30 Pro
Quick Guide on 8BitDo SN30 Pro Joystick Replacement
To keep it quick and simple, this guide will go through a step-by-step process on how to replace the old and crusty joystick with a new and silky smooth one (do note that I’m not replacing the switches, but only the thumbgrip/joystick cap thingy)
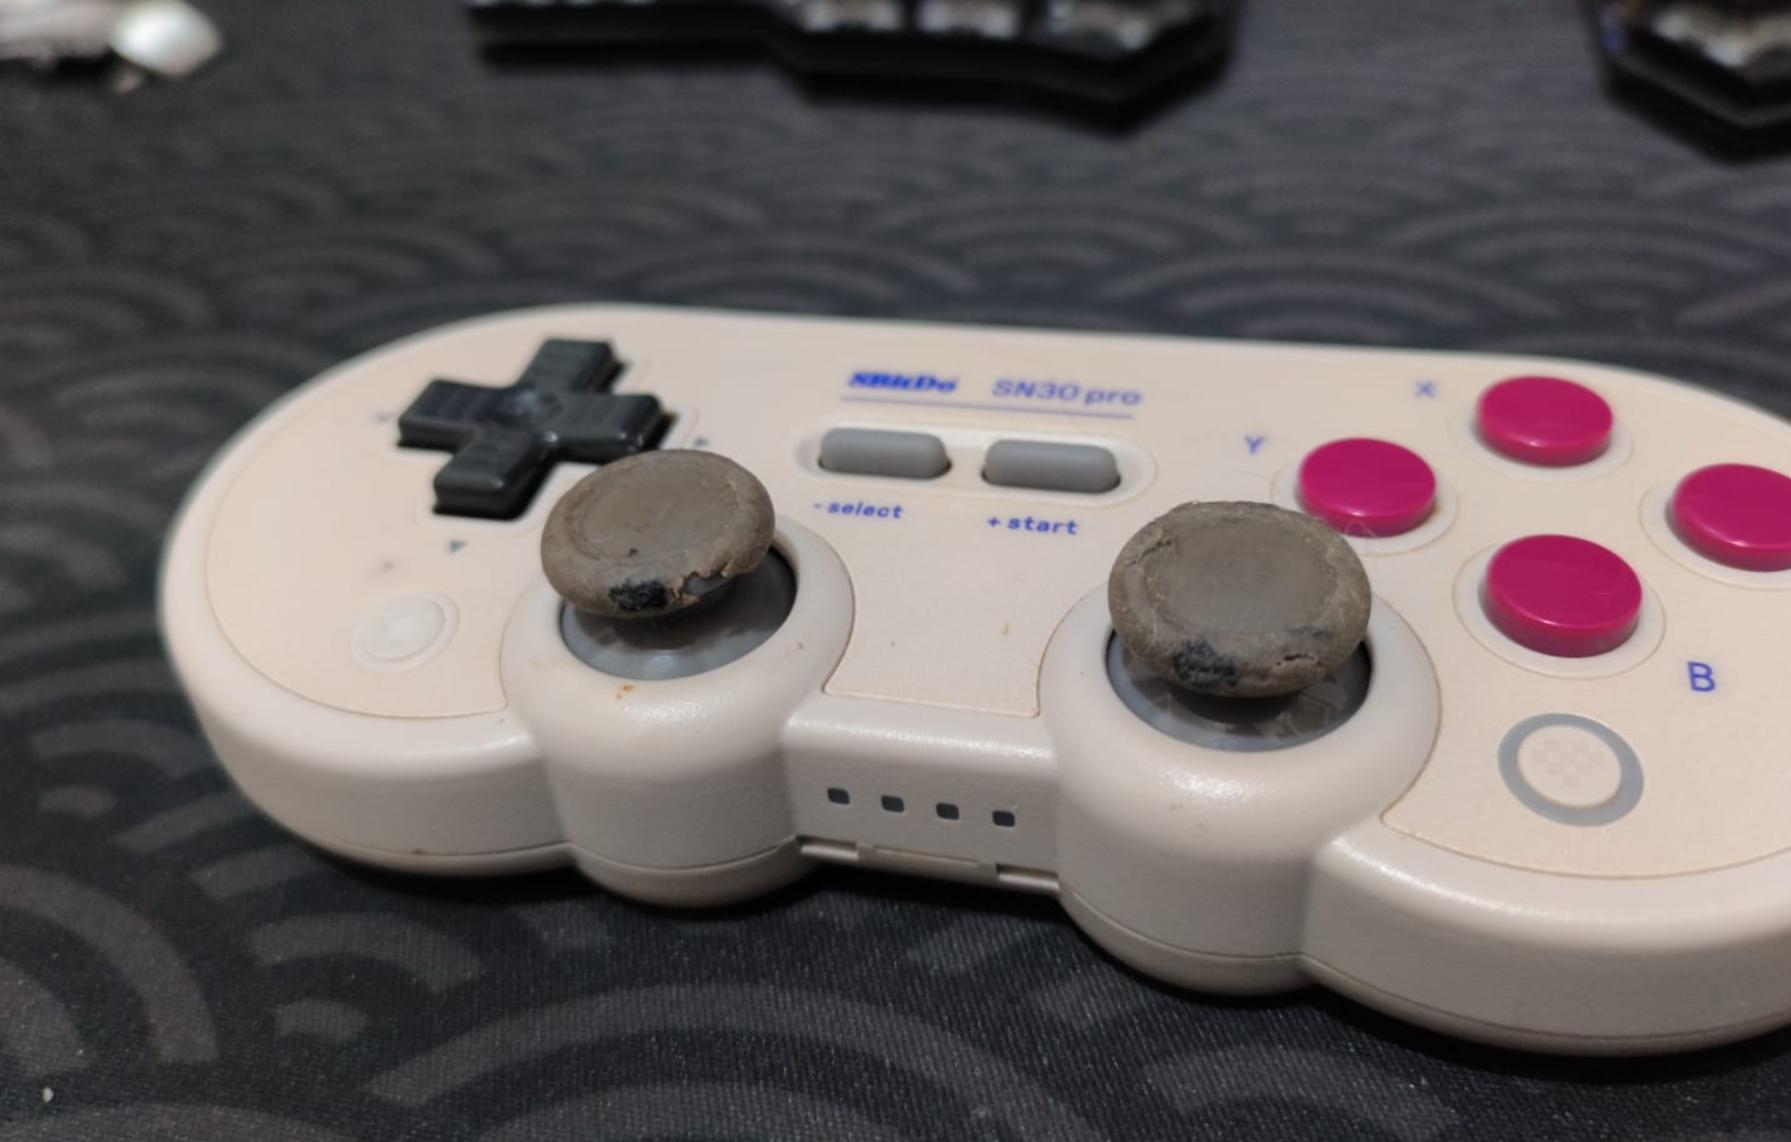 Joystick Crusty Condition
Prerequisite
Below is a list of items that are needed to perform the replacement:
- 2 types of screwdrivers (the type is shown in the guide)
- 2 Thumbgrip/joystick replacements
Joystick Replacement Compatibility
Below are some example joystick replacement alternatives that are compatible with SN30 Pro:
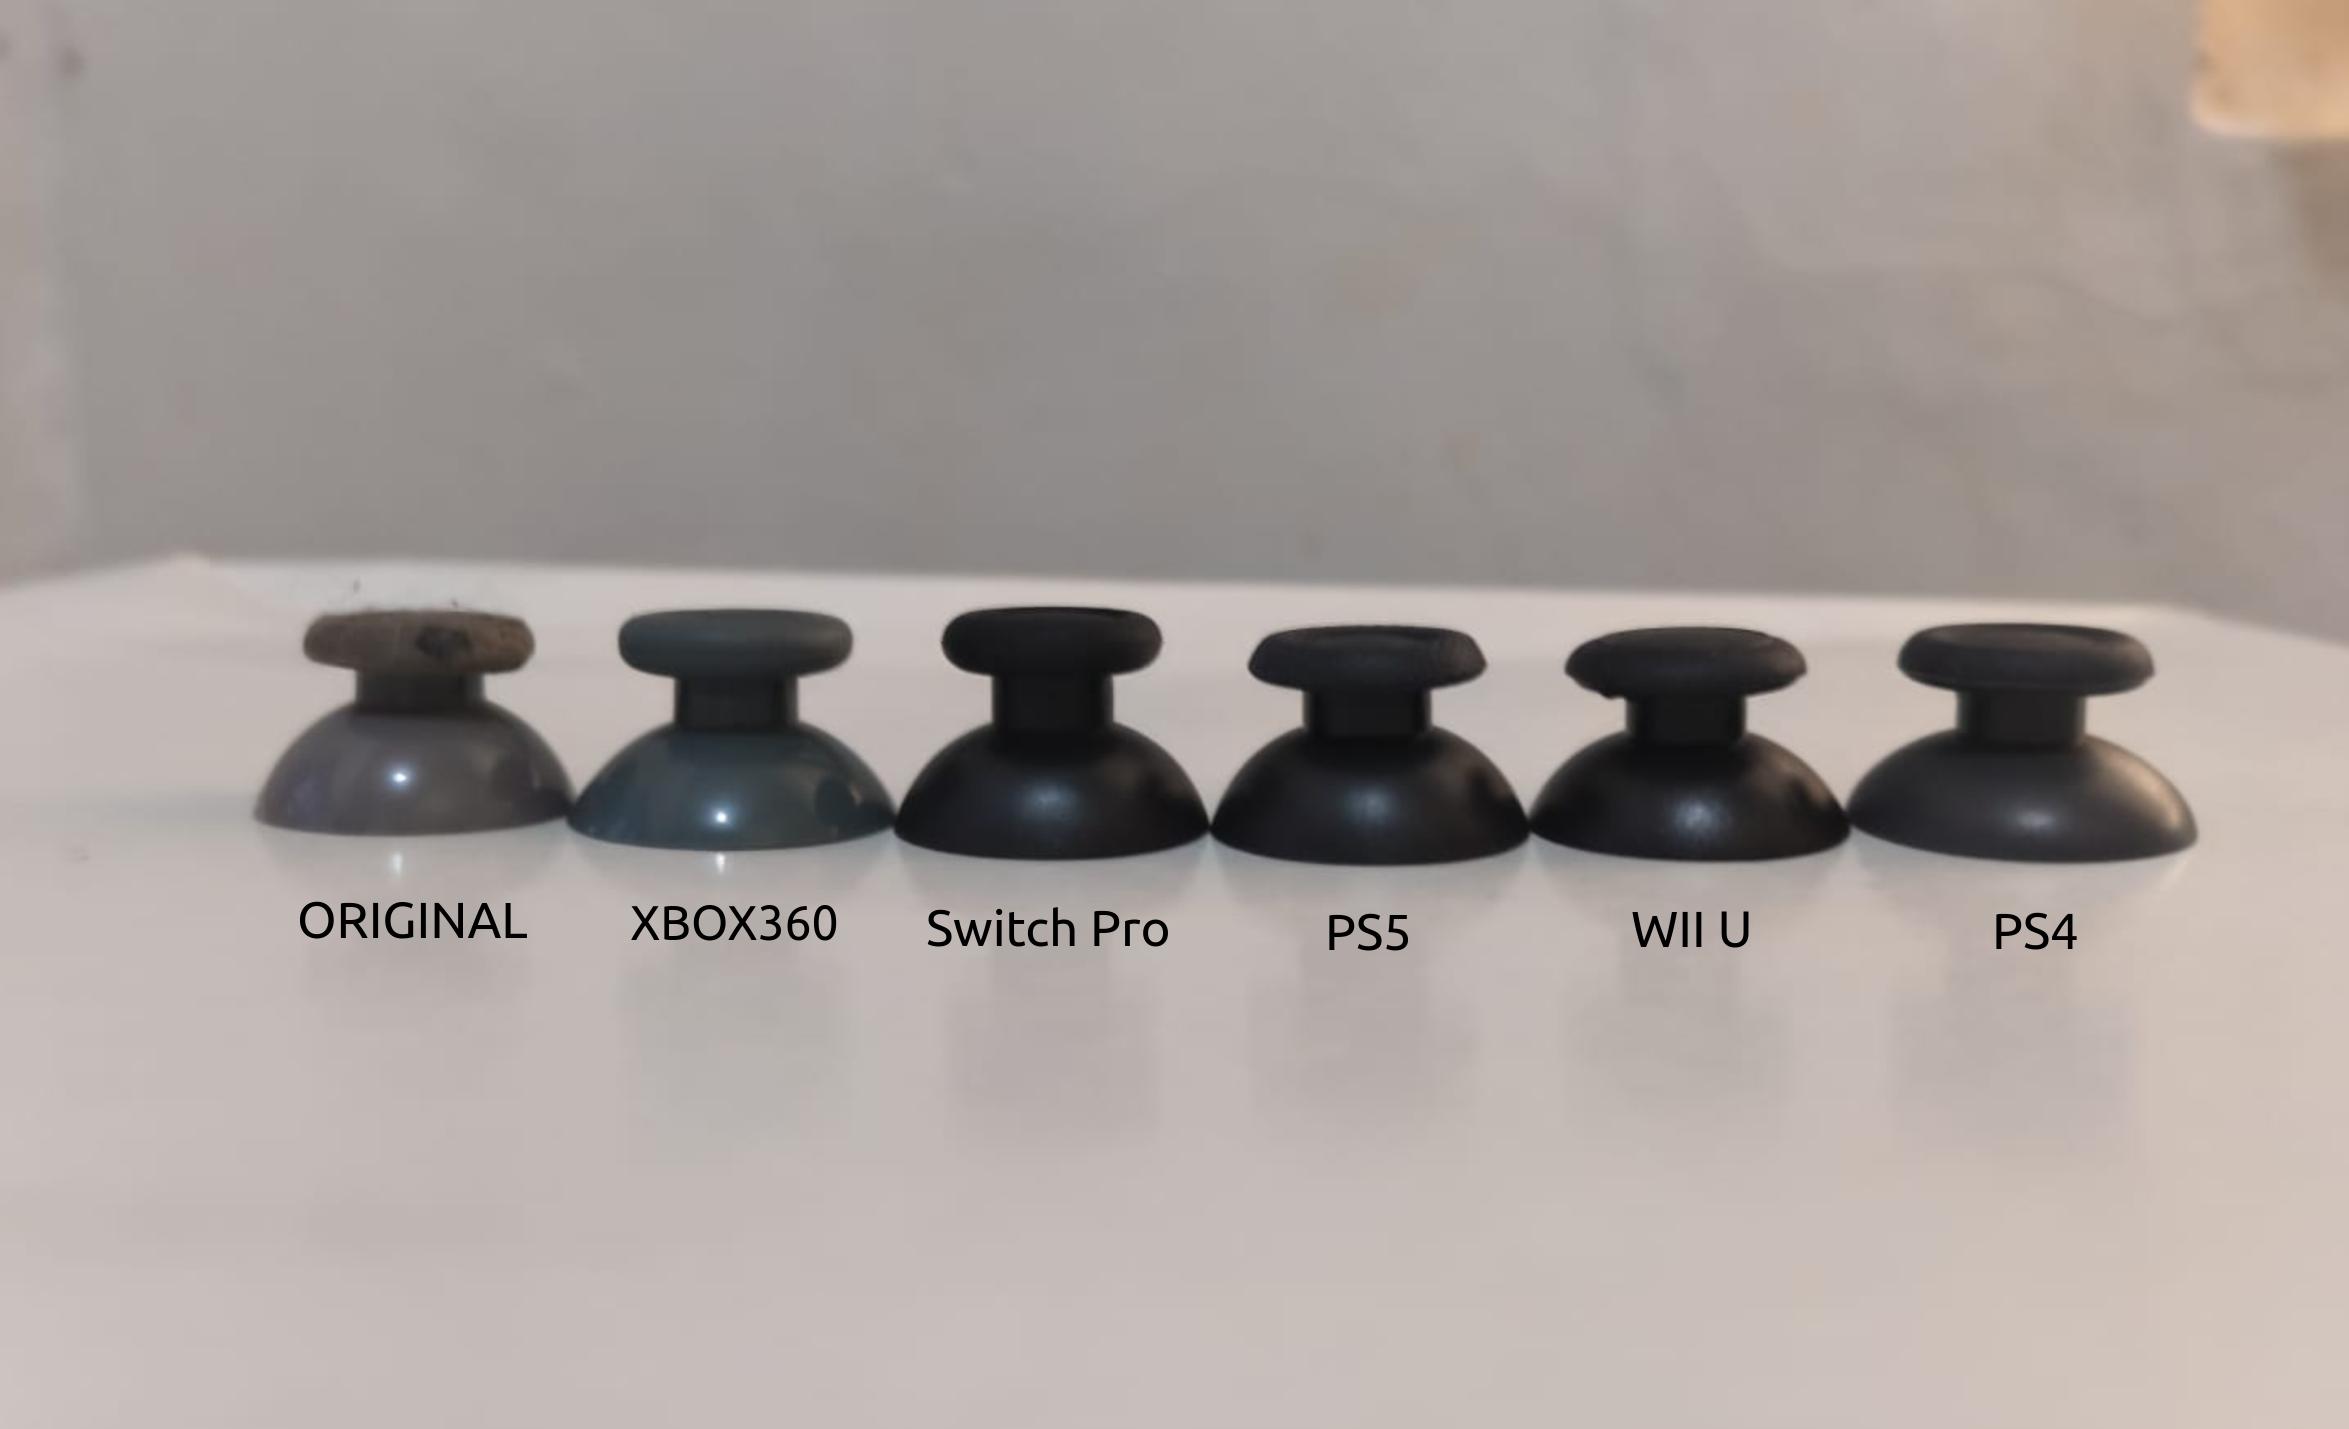 Joystick Height Differences
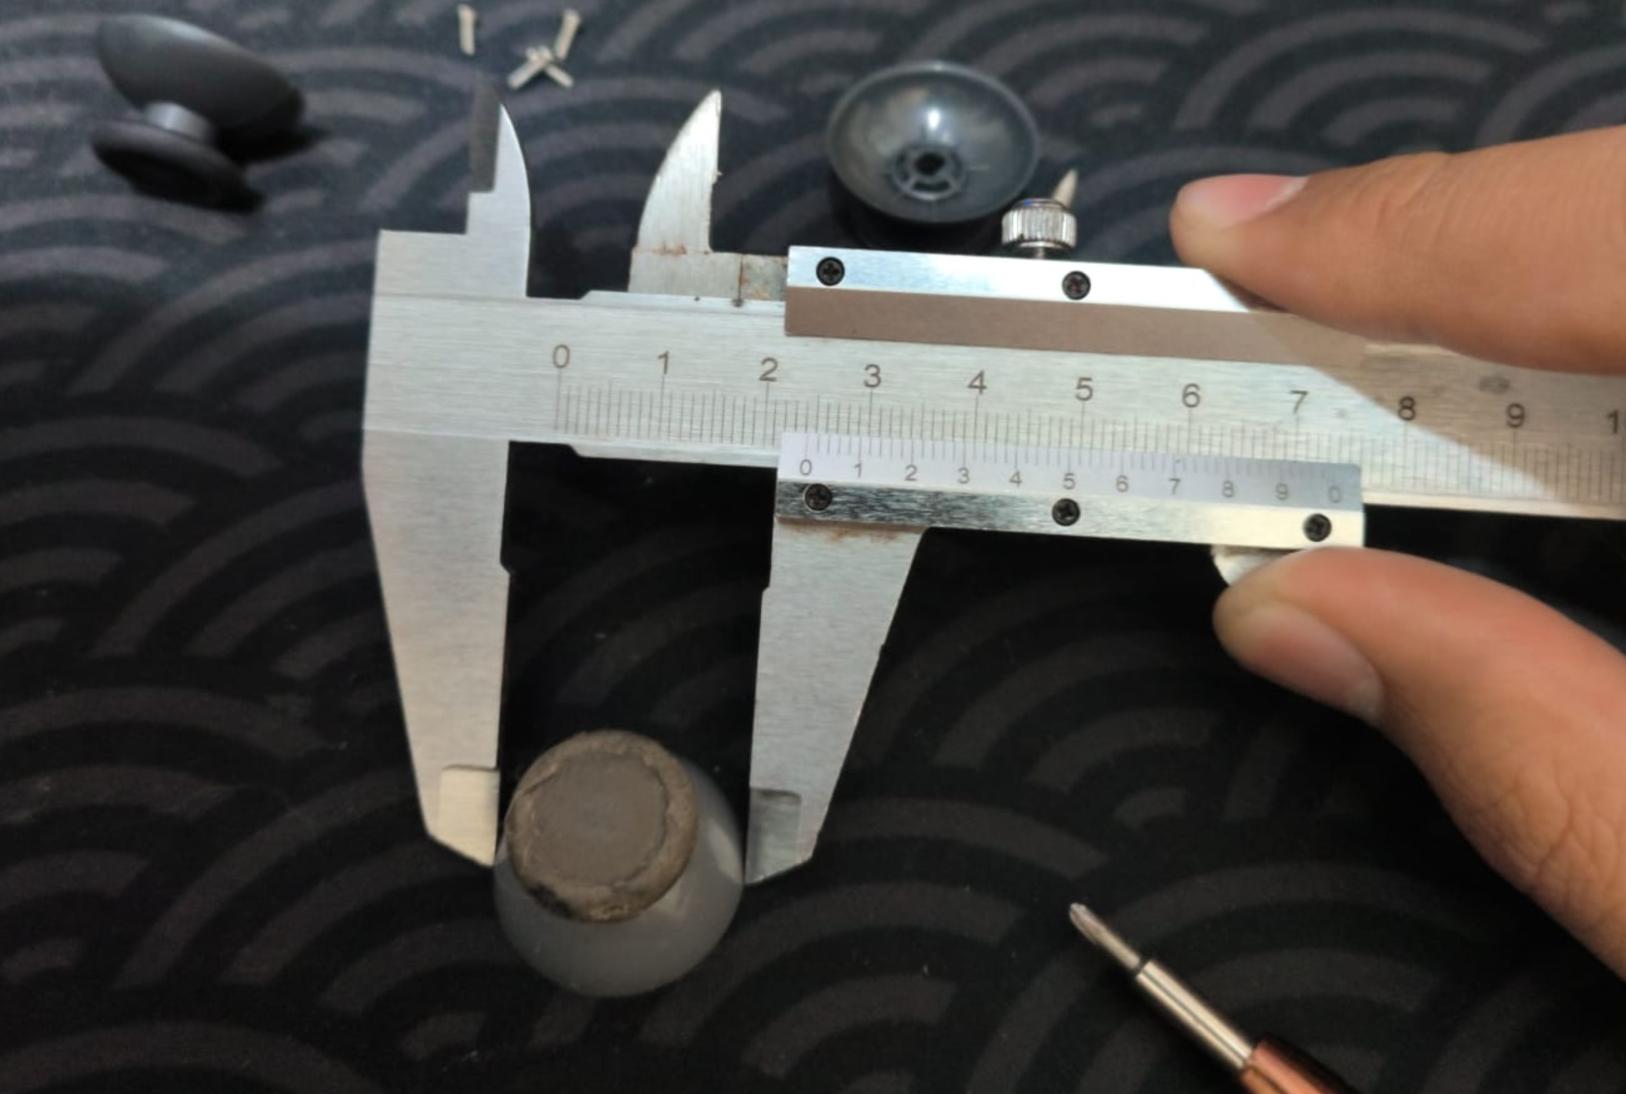 Original Joystick Diameter
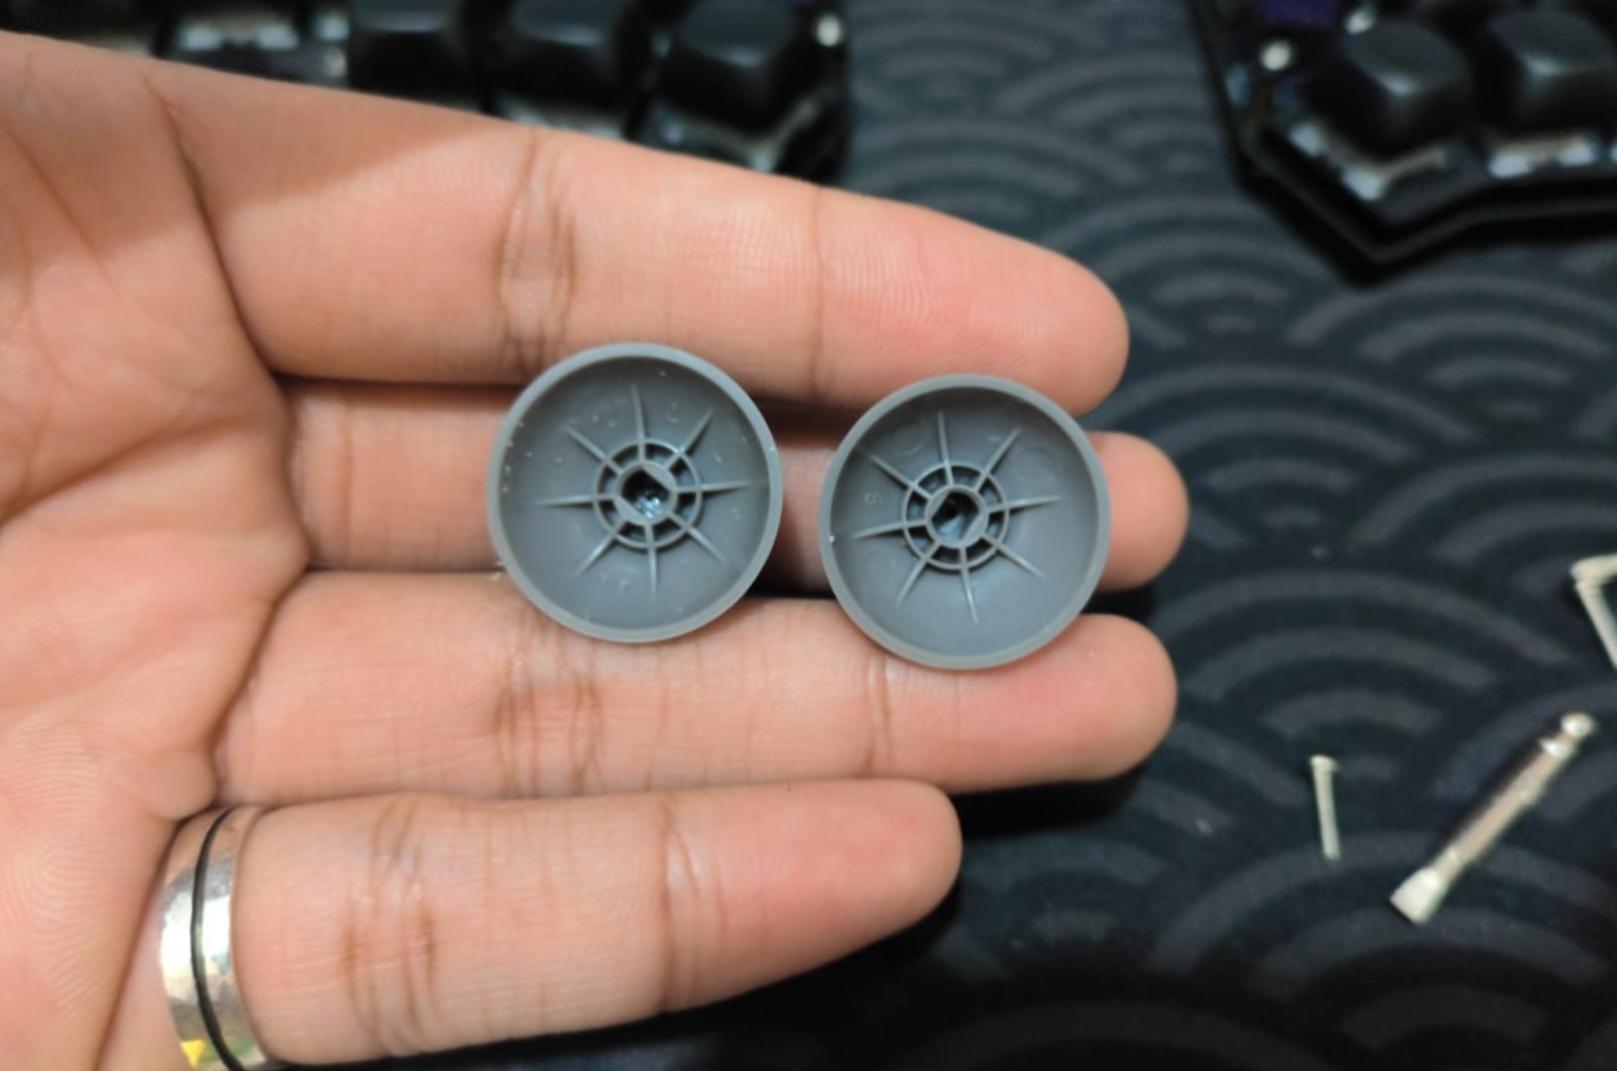 Original Joystick Inside
| Controller | Compatibility |
|---|---|
| PS5 (DualSense) | ✅ Compatible |
| Nintendo Switch Pro Controller | ✅ Compatible |
| Wii U Pro Controller | ✅ Compatible |
| PS4 (DualShock 4) | ❌ Not compatible |
| Xbox 360 | ❌ Not compatible |
Why This Compatibility is Important?
Compatibility is very important because if the joysticks are slightly bigger than the original, they might touch the actual case around the joystick hole. This creates friction that makes the joystick stick to the case, making it harder to actually use the joystick. (Check the explanation in the video)
Video Guide
Replacement Steps
1. Unscrew the back cover
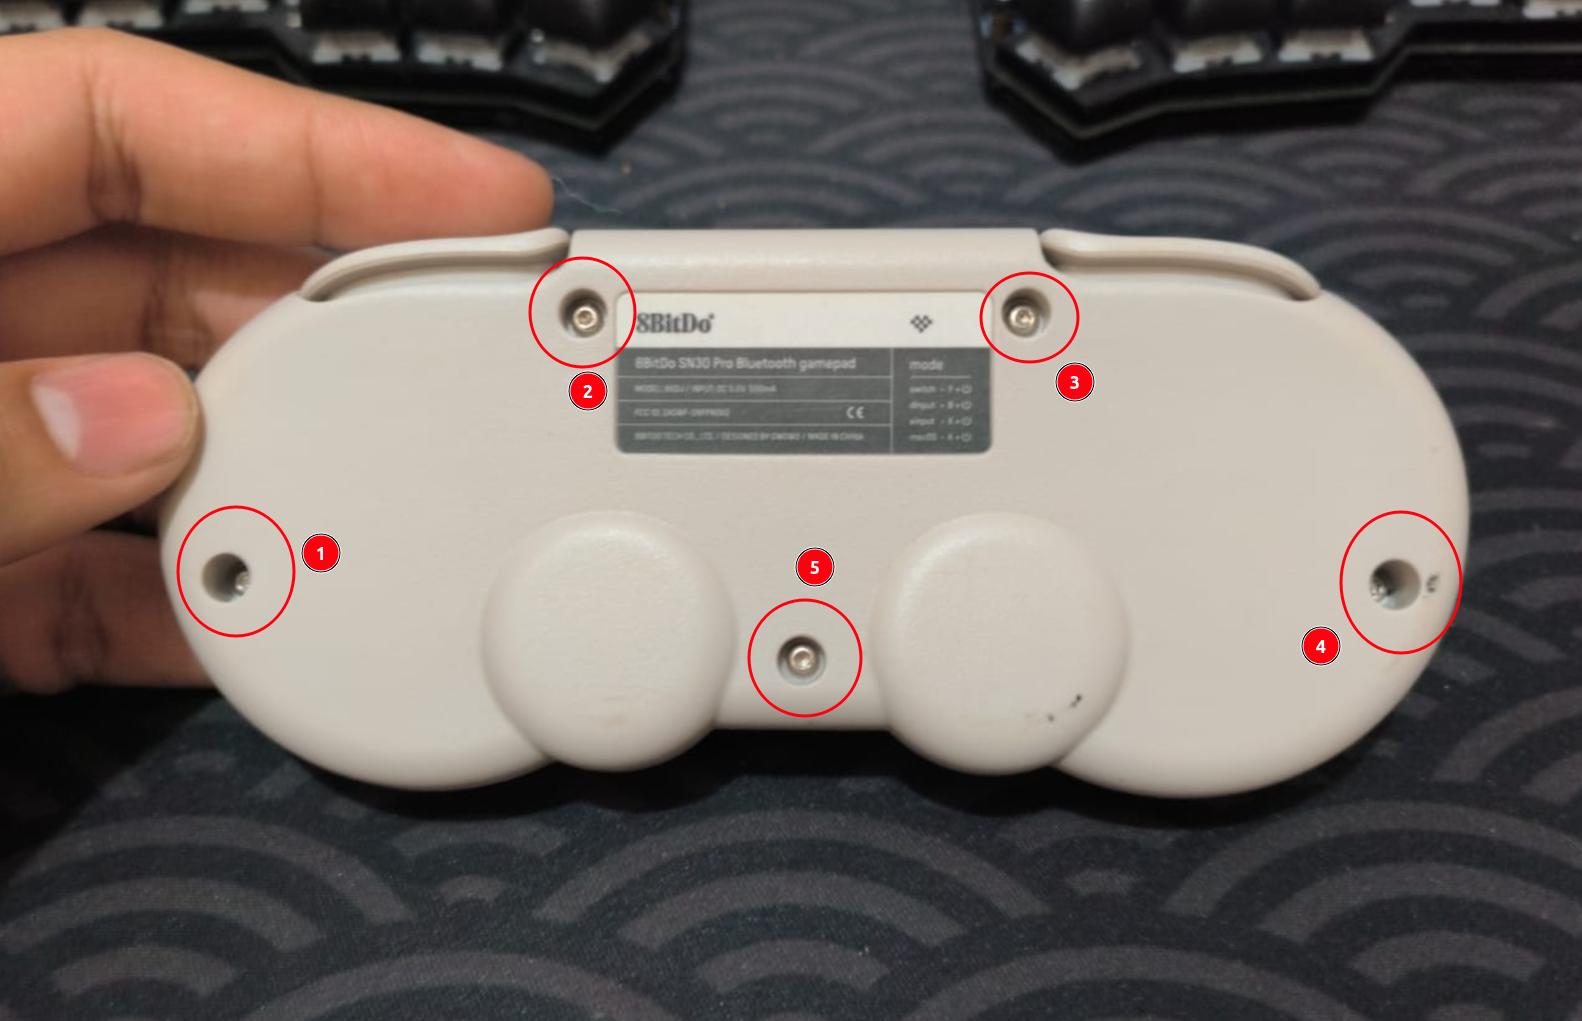 Unscrew Back Cover
Unscrew the back cover. There are 5 total screws for the back cover. The screws are called Torx T6 Screws
2. Unscrew the breakout board of the joystick switch
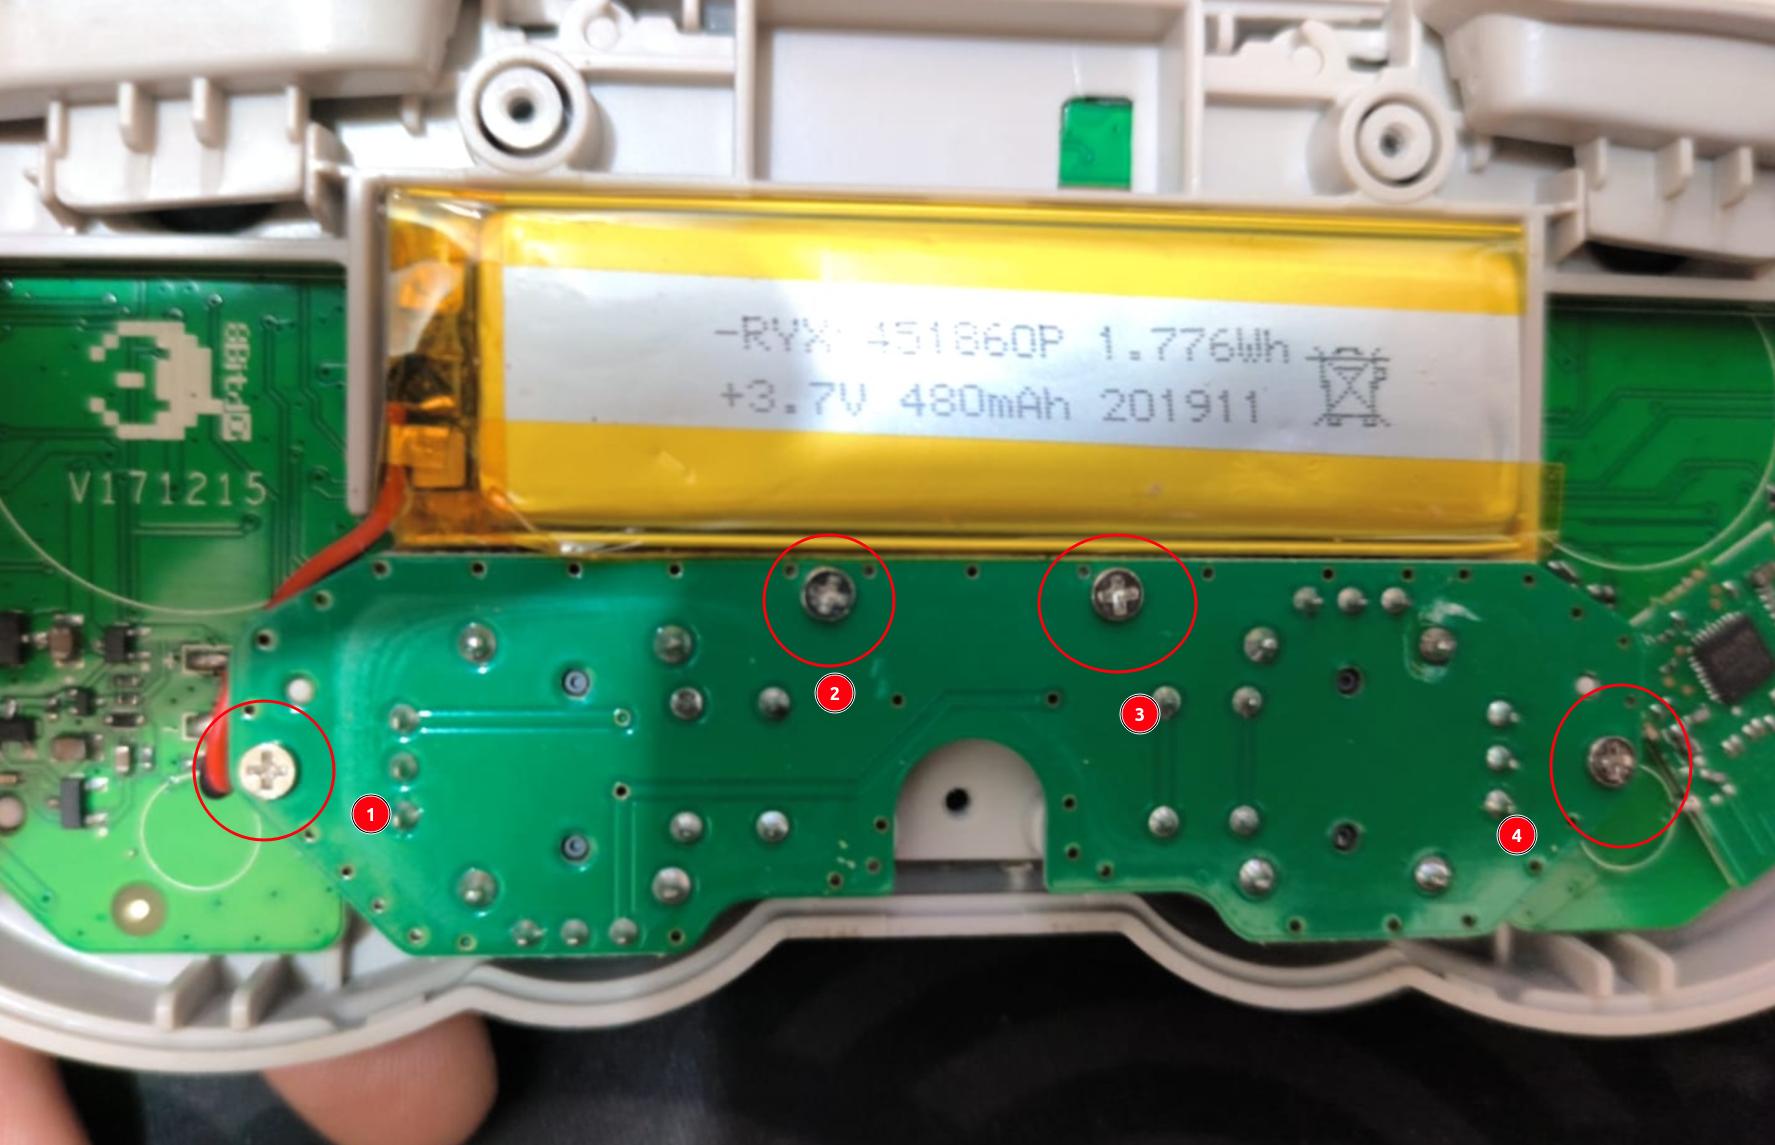 Unscrew Breakout Board
Unscrew the breakout board, it is held down by 4 screws shown in the picture.
3. Pull the battery from the tape
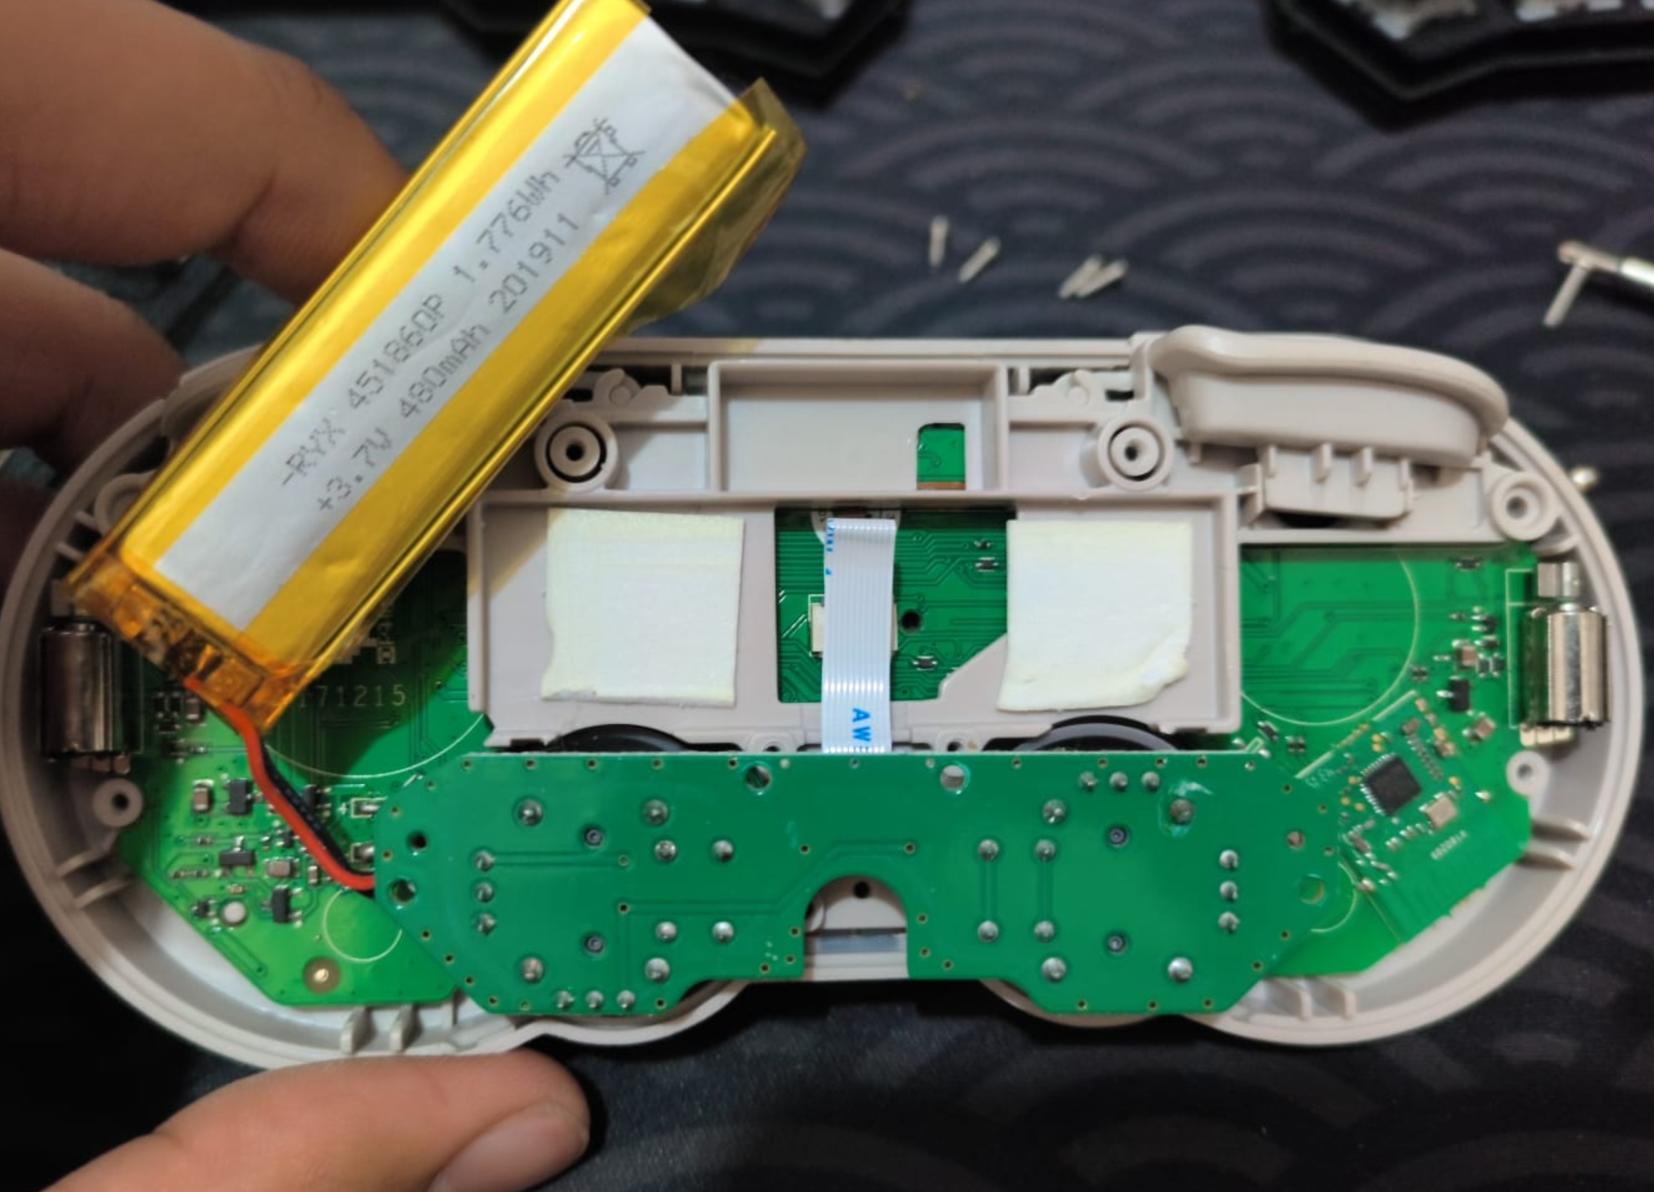 Remove Battery From Tape
Be very careful when trying to pull out the battery to not get it punctured
Pull out the battery from the tape.
4. Pull out the breakout board and the joystick (be careful)
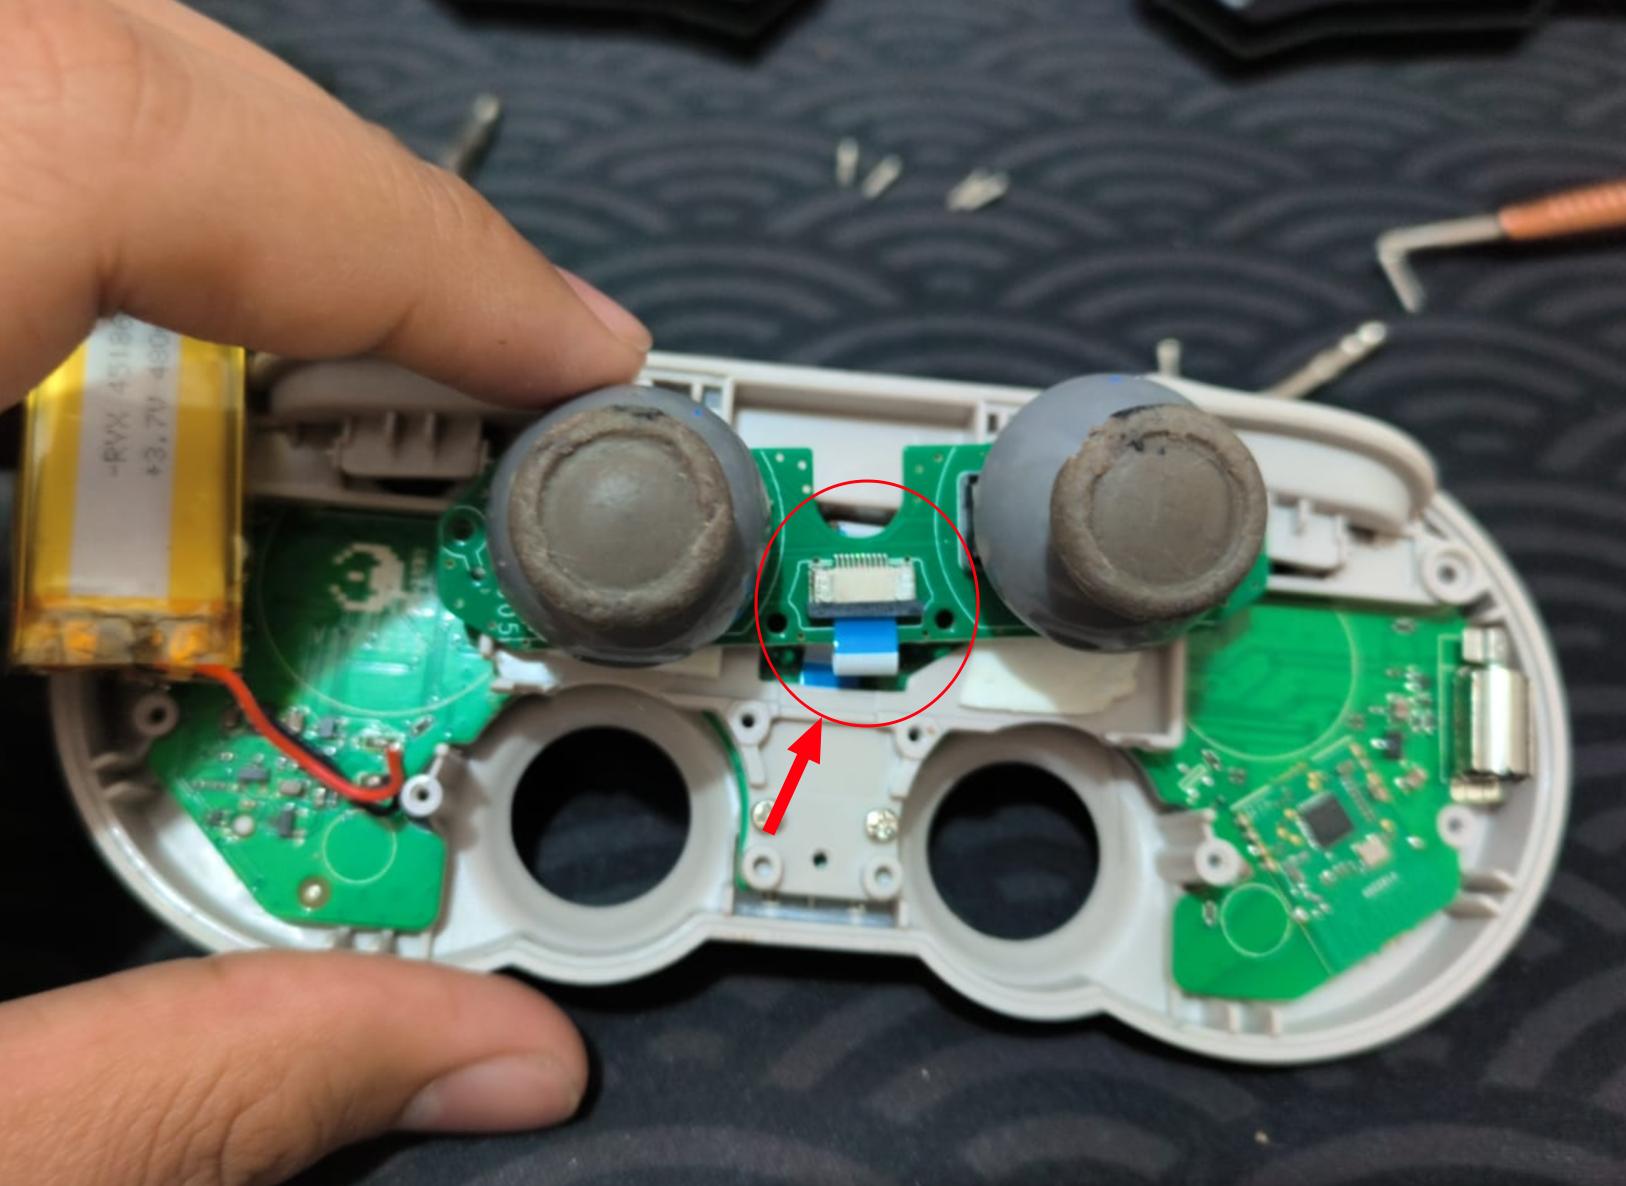 Pull Out The Breakout Board
Be very careful with the breakout board ribbon cable
Pull out the breakout board to reveal the joystick.
5. Replace the joystick
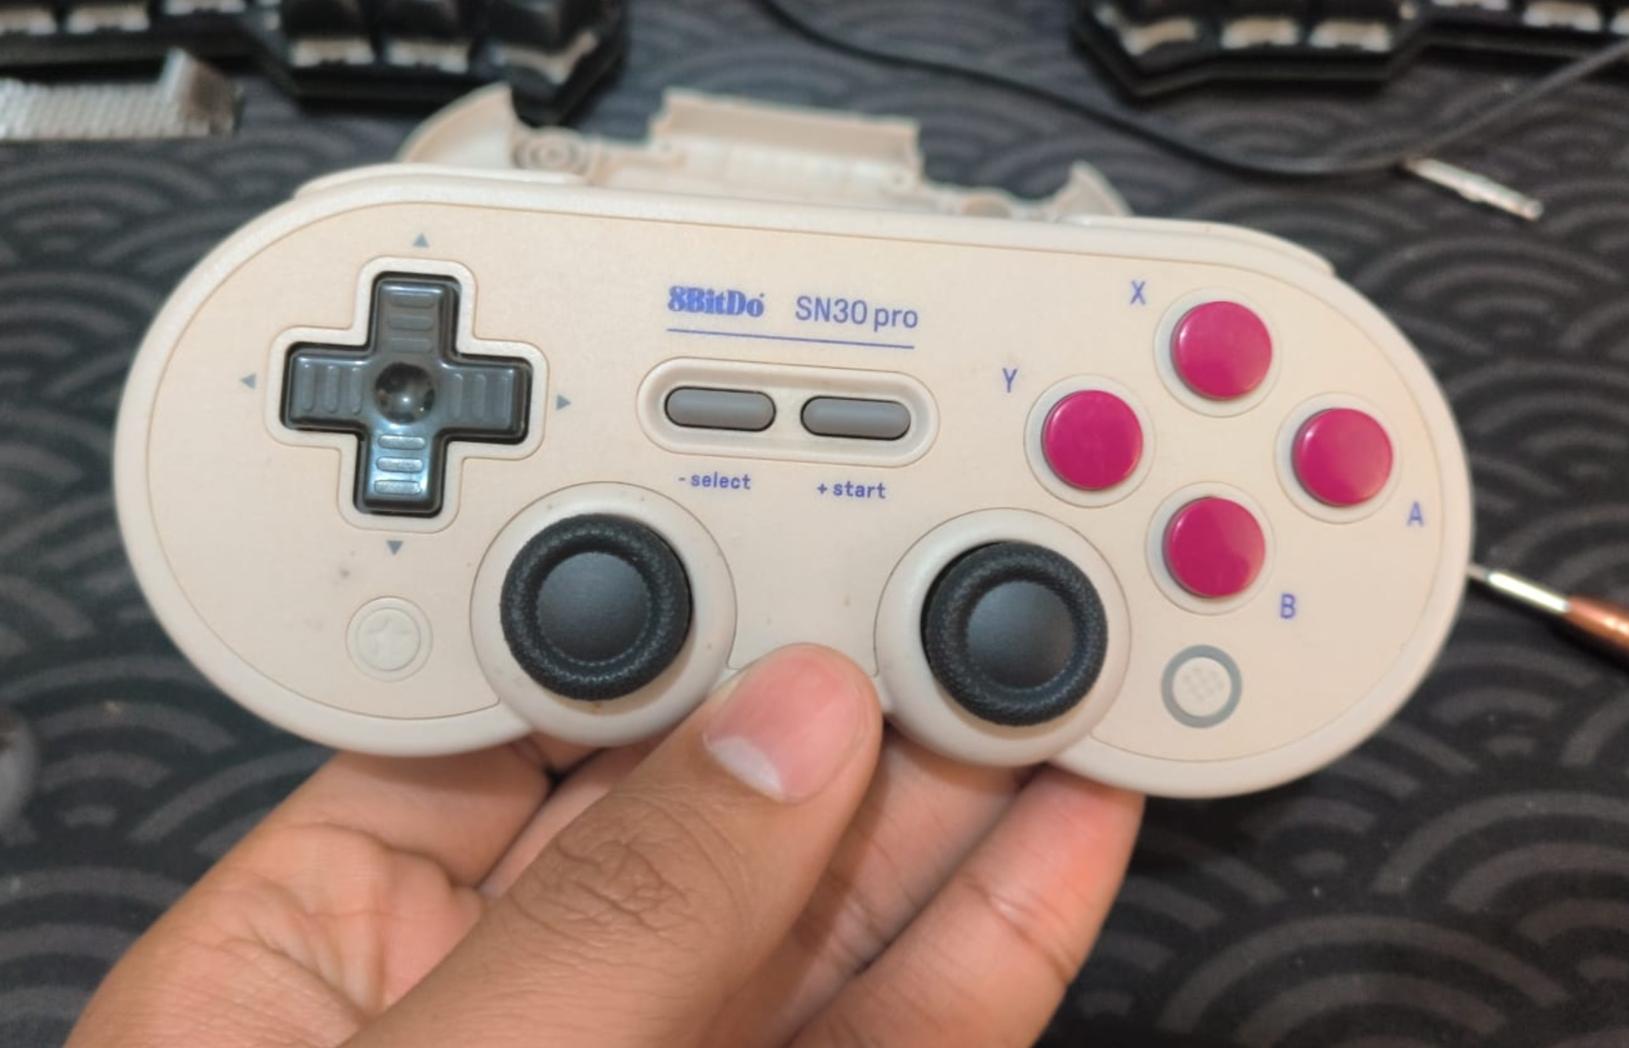 Replace The Joystick
Replace the original joystick with the compatible one, then screw the breakout board and back cover back on (basically repeating steps 1 & 2)
6. Finish
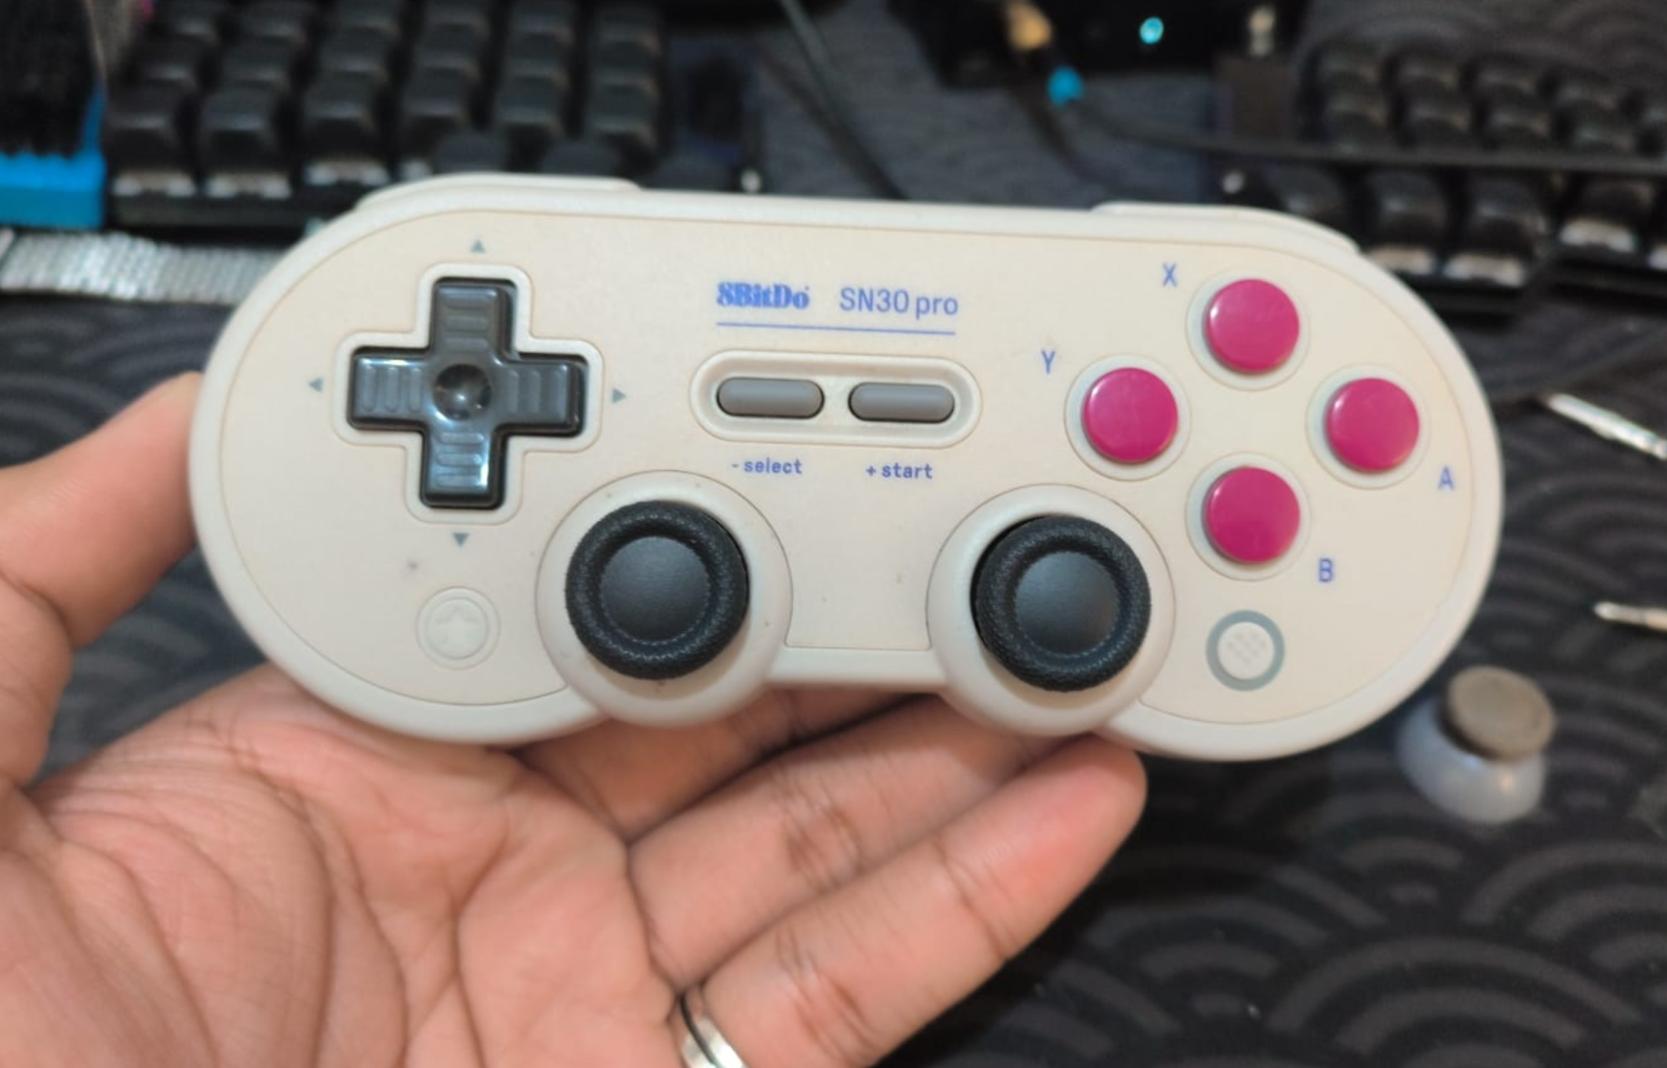 Replaced Joystick
AND IT’S DONE!